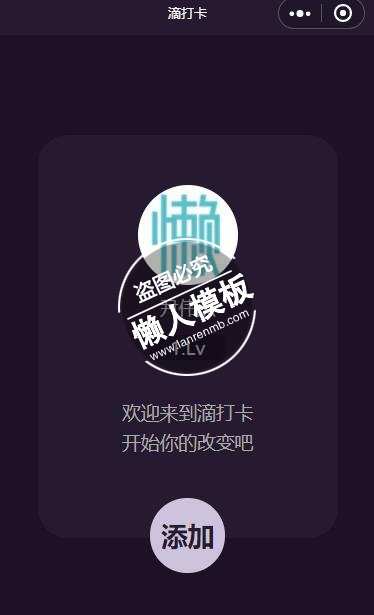
今天给大家带来滴打卡黑色背景欢迎页面,制作好以后效果图如下:
一、wxml页面代码如下:
<view class="container">
  <view   class="userinfo">
    <image class="userinfo-avatar" src="{{userInfo.avatarUrl}}" background-size="cover"></image>
     <text class="userinfo-nickname">{{userInfo.nickName}}</text>
     <text class="userinfo-level">1.Lv</text>
     <text class="userinfo-context1">欢迎来到滴打卡</text>
     <text class="userinfo-context2">开始你的改变吧</text>
     <view bindtap="add" class="add_button" hover="true">添加</view>
  </view>

</view>
|
二、wxss样式文件代码如下:
/**index.wxss**/
.userinfo {
  display: flex;
  flex-direction: column;
  align-items: center;
  background-color: #261a31;
  width:600rpx;
  height:800px;
  padding: 300px,0,200px,0;
  border-radius: 30px;
  box-shadow: 10x #888888;
  position: relative;
  z-index: 1;
}
.userinfo-avatar {
  width:100px;
  height:100px;
  margin-top:100rpx;
  margin-bottom:20rpx;
  border-radius: 50%;
}
.userinfo-level{
  margin-top: 30rpx;
  width:150rpx;
  text-align: center;
  background: #1d1128;
  border-radius: 5px;
}
.userinfo-context1 {
  margin-top: 80rpx;
}
.userinfo-context2 {
   margin-top: 10rpx;
}
.add_button{
  width: 150rpx;
  height: 150rpx;
  background: yellow;
  line-height: 150rpx;
  border-radius: 150rpx;
  z-index: 100;
  position: relative;
  top:43px;
  text-align: center;
  font-size: 20pt;
  font-weight:bold;
  color: #261a31;
  background: #cec3dd;
}
|
三、js页面代码如下:
var app = getApp()
Page({
  data: {
    userInfo: {}
  },
  //事件处理函数
  onLoad: function () {
    console.log('onLoad')
    var that = this
    //调用应用实例的方法获取全局数据
    app.getUserInfo(function(userInfo){
      //更新数据
      that.setData({
        userInfo:userInfo
      })
    })
  },
  // 添加按钮跳转
  add:function(){
    wx.redirectTo({
      url: '../new_task/new_task'
    })
  }
})
|

.jpg)
.jpg)